Thursday Tip with Hali - Serger Thread: How to change spools
Thursday Tip // Serger Thread: How to change spools
Not everyone has a serger (or overlocker) and that is OKAY! You definitely don’t need one to make your own garments.
If you do have one, did you dread the first time you needed to change colours or re-thread your machine?! This is a fear many sewists have but like anything, with practice it gets easier and you will gain confidence in your rethreading abilities.
If you just need to change thread colors or replace one spool, then this tip is for you! This is the method I primarily use and I find it works well with very few broken threads. I also like this method because it doesn’t waste as much thread (or time) as other methods. You’ll see why in a minute.
How to change serger thread spools:
Cut the threads you want to change close to the spools, leaving a bit of slack.


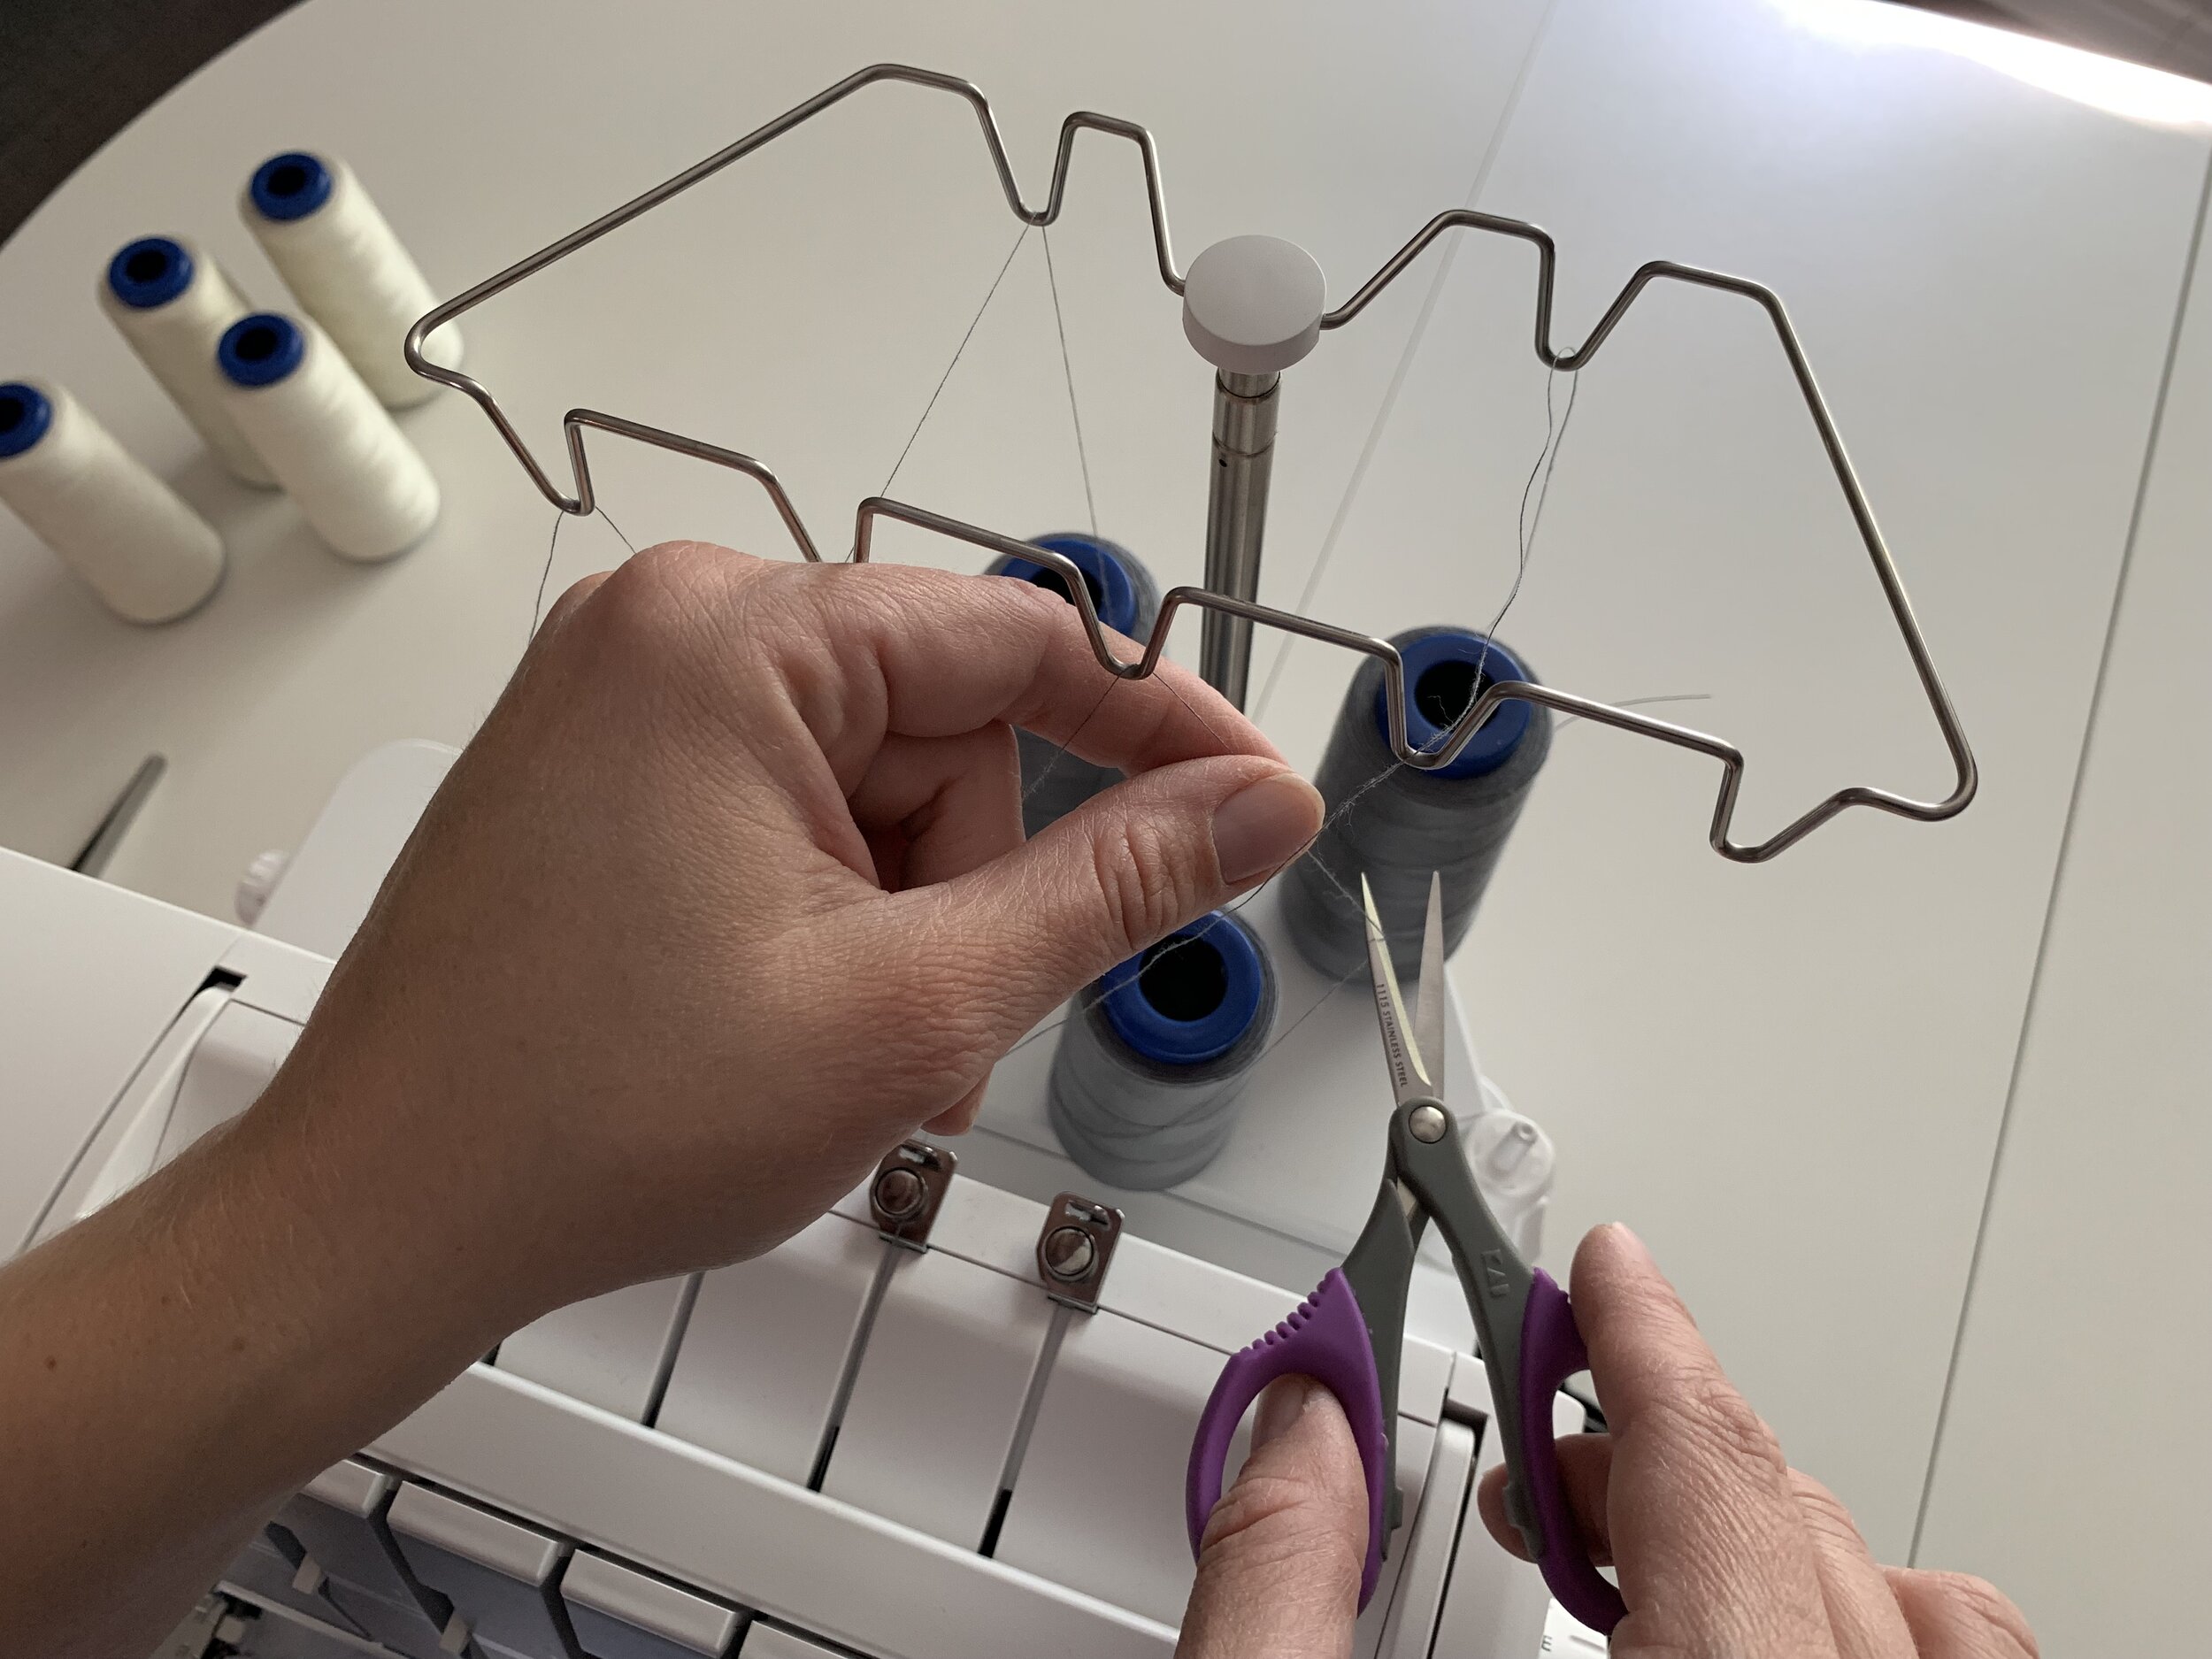

Put on new spools one at a time and tie the new threads to the threads you want to replace. Make sure your knots are secure. I just use a regular double knot. Also trim your thread tails to 1-2 inches so they don’t get caught in the machine when you pull them through. If they are too long they could get tangled up in the threading path or break and then you have to re-thread anyway. Which defeats the purpose of this shortcut!


When all the threads are tied, turn all tension dials to the lowest setting. This will allow the threads to pass easily through the machine as you pull them.

Raise your presser foot to release the tension there and make sure the needles are in the highest position.

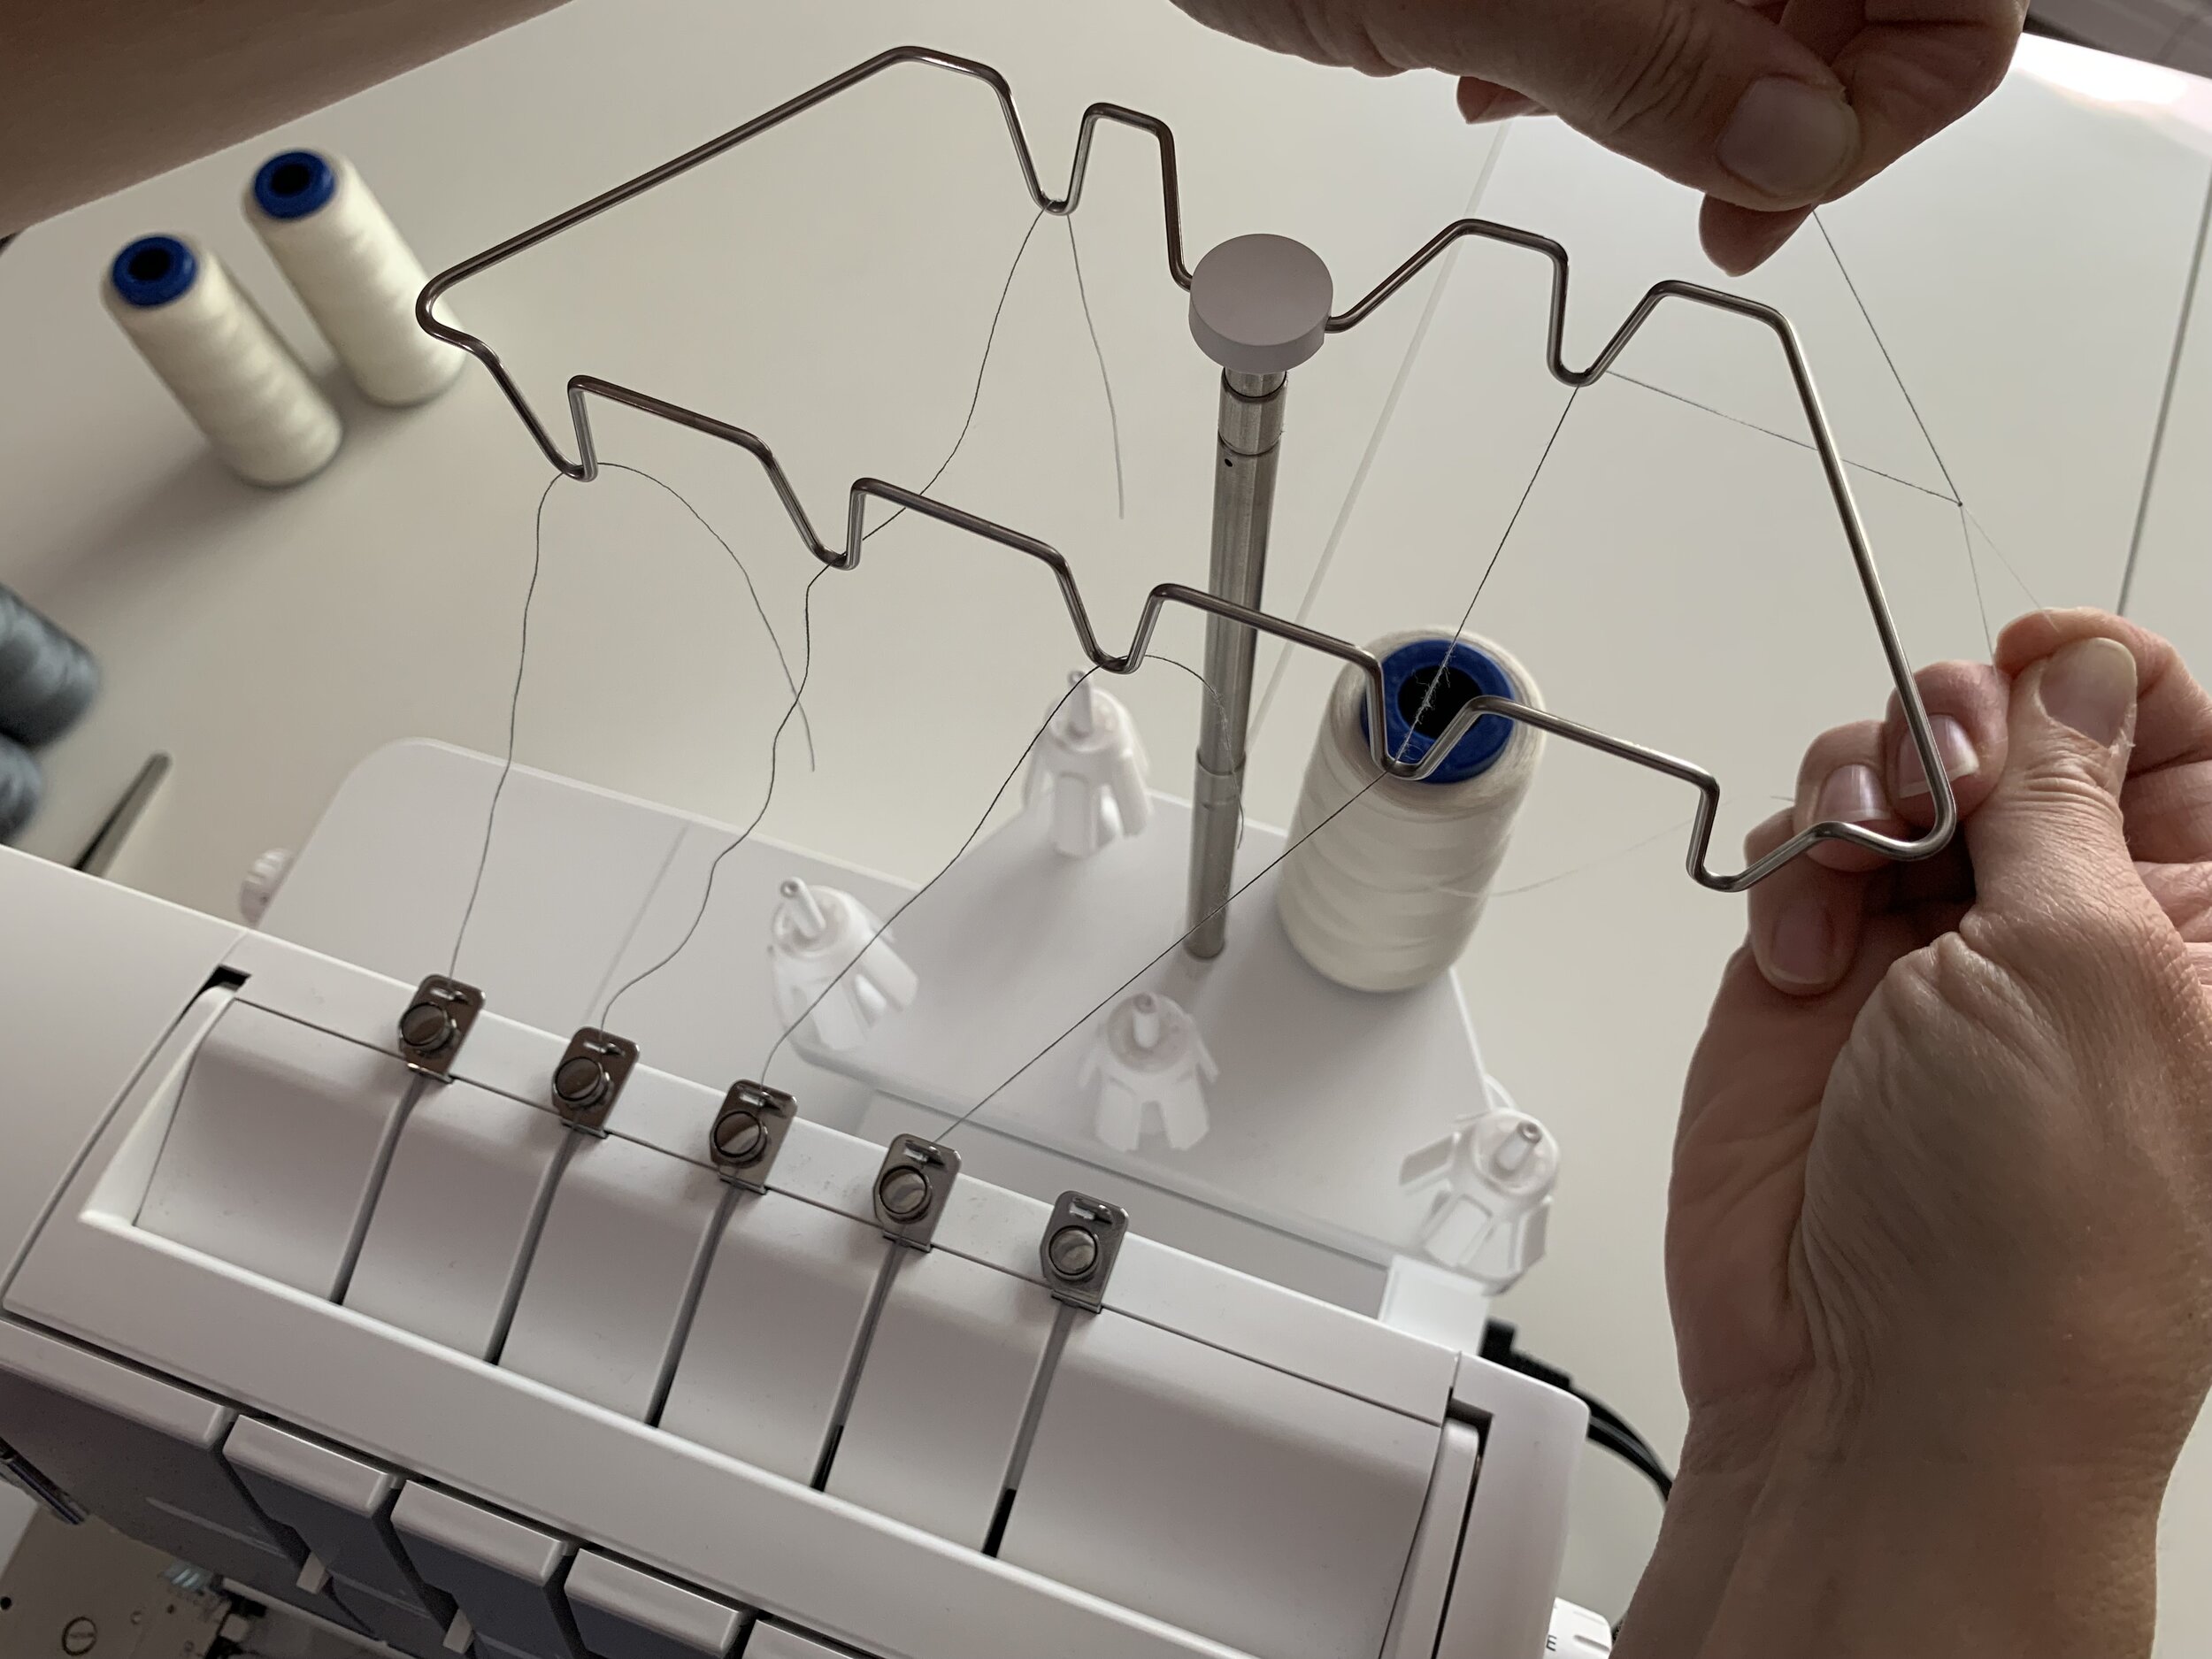
Gently pull all the threads from under your presser foot. Depending on how many spools you are working with you may notice there are more threads coming out of your machine than you have spools. This is because of the way the threads loop around the needles to make stitches.


After you have pulled the threads about 3-4 inches, cut those threads about 2 inches away from the presser foot. Then gently pull the threads again until you can identify that extra thread as it comes loose and remove it. Now you should have as many threads as you have spools. In my case, when I first pull the serged thread tail I have 6 threads and after removing the extra piece I end up with 4 threads (2 through the needles and 2 through the loopers).


Continue gently pulling the threads until the new thread color appears. Carefully watch when the knots reach the serger needles. If your knot is small enough it may pass through easily. If not, just pull some slack above the needle and remove the knot portion and then re-thread the needle. The knots should pull through the loopers without difficulty as long as your knots are secure to begin with.


Once all the new thread colours have been pulled through the machine, return your tension dials to the appropriate setting and test your stitches.
Some may prefer to tie the new threads on and then just serge until the knots come through the machine but I find that takes a lot longer, especially for the knots to reach the needles and it also uses up quite a bit of thread unnecessarily. Every machine is different so test it out and let us know if it worked for you!
Do you change your serger thread this way or do you rethread your machine every time you switch thread spools? We would love to hear your thoughts in the comments.