Thursday Tip with Hali - How to sew a french seam
Thursday Tip // How to sew a french seam
We’ve covered a few different seam finishing techniques in our tips series but we have yet to talk about french seams. French seams create a beautiful professional finish, they feel great on the skin and they are easy to sew. All you need is the ability to sew a straight stitch.
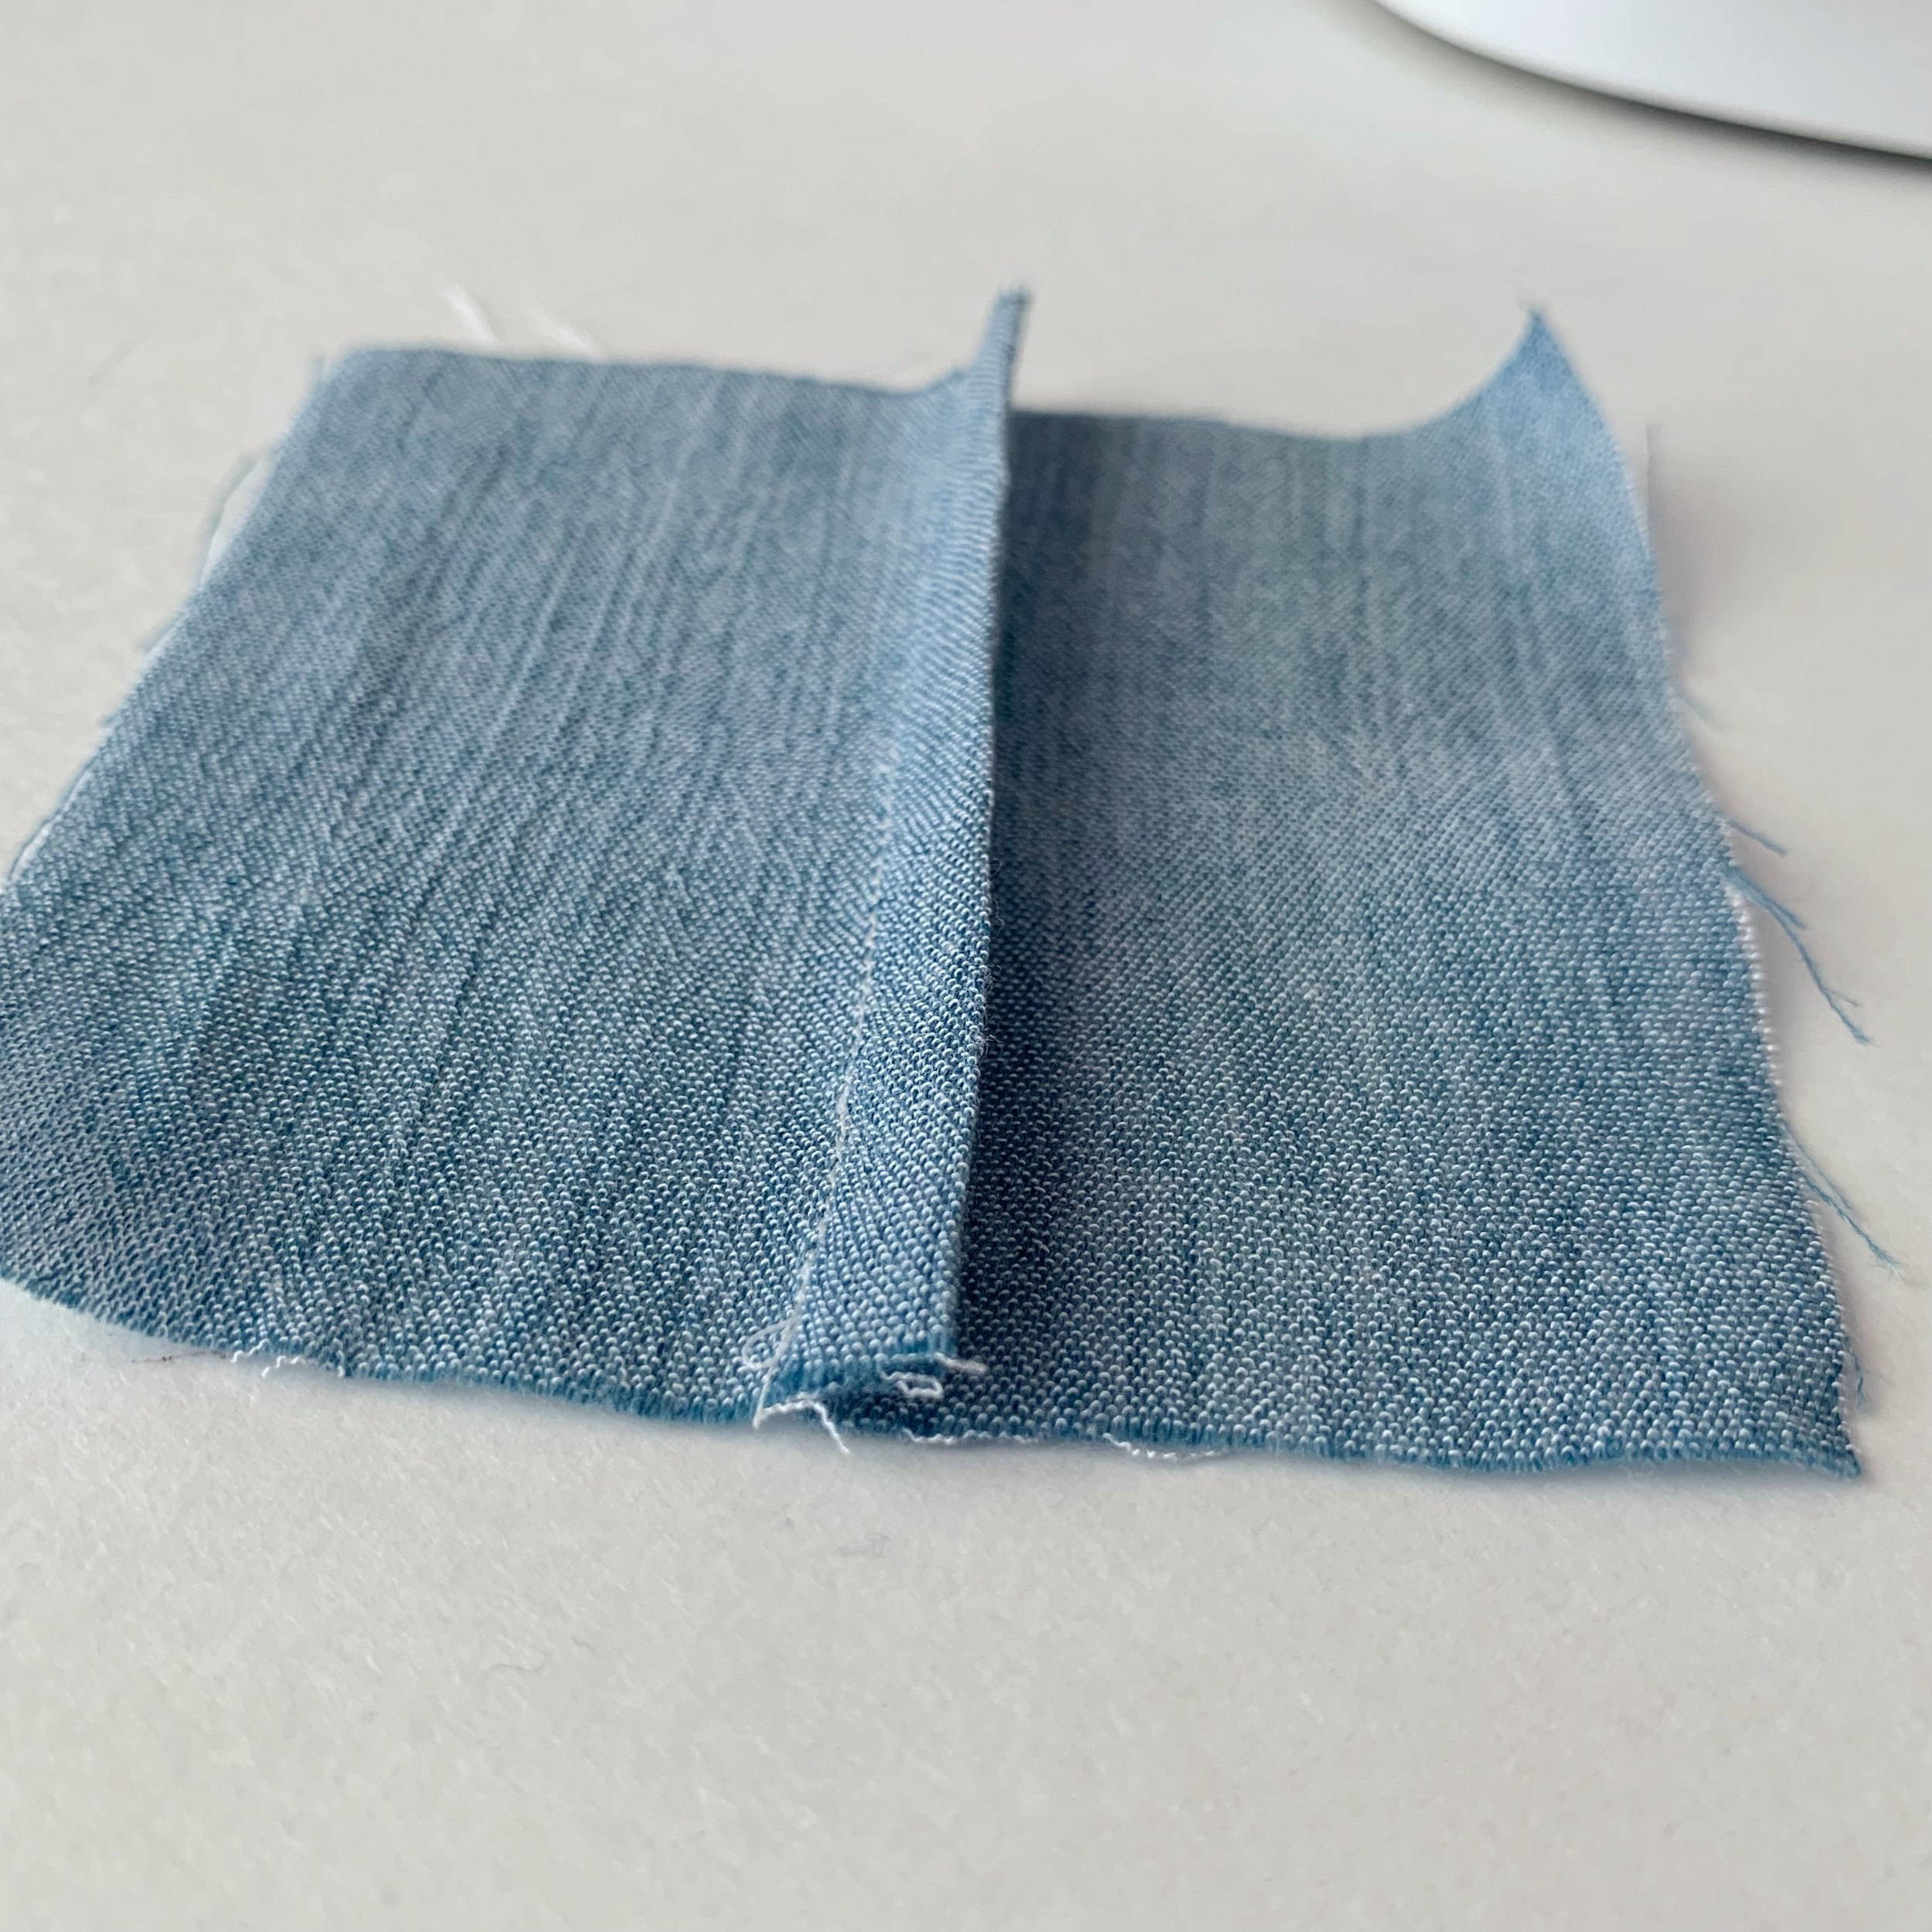
ID: A swatch of sky blue, lightweight linen sewn with a french seam in white thread. A couple of white fingers are holding the seam to show either side.
French seams are double sewn and enclose the raw edges of the fabric in a strong and durable seam that will extend the life of your garment. French seams are best used with very lightweight fabrics and are often recommended for lightweight silk, voile or challis. This seam finish can also be used for lightweight linens and other lightweight fabrics that tend to fray or with sheer fabrics where you don’t want to see a serged or zigzagged finish from the outside of the garment.
French seams are typically sewn on straight seams, however, with a little practice and some youtube video tutorials to aid in your technique, you can also do french seams on curved seams like sleeve seams/armholes or crotch seams. Just keep in mind that the heavier the fabric the more bulky the seam will be so french seams are usually not the most effective finish for curved seams but it certainly can be done with some care and attention.
Note: In the following instructions we assume a ⅝” seam allowance. Indie patterns will usually indicate what seam allowance to use when doing french seams in that particular garment.
French seams can be used if you have a ½” or more seam allowance. Adjust the seam allowance of your first pass if the given seam allowance is greater than ½”. Any less than ½” and you risk having a seam pop open or raw edges not being fully enclosed.
How to sew a french seam:
1. Sew your seam with WRONG sides together. Use a shorter stitch length and stitch at ⅜” seam allowance. The shorter stitch length will secure the seam and make it stronger when trimming the seam allowance.
ID: A swatch of sky blue, lightweight linen sewn with a 3/8” seam allowance in white thread.
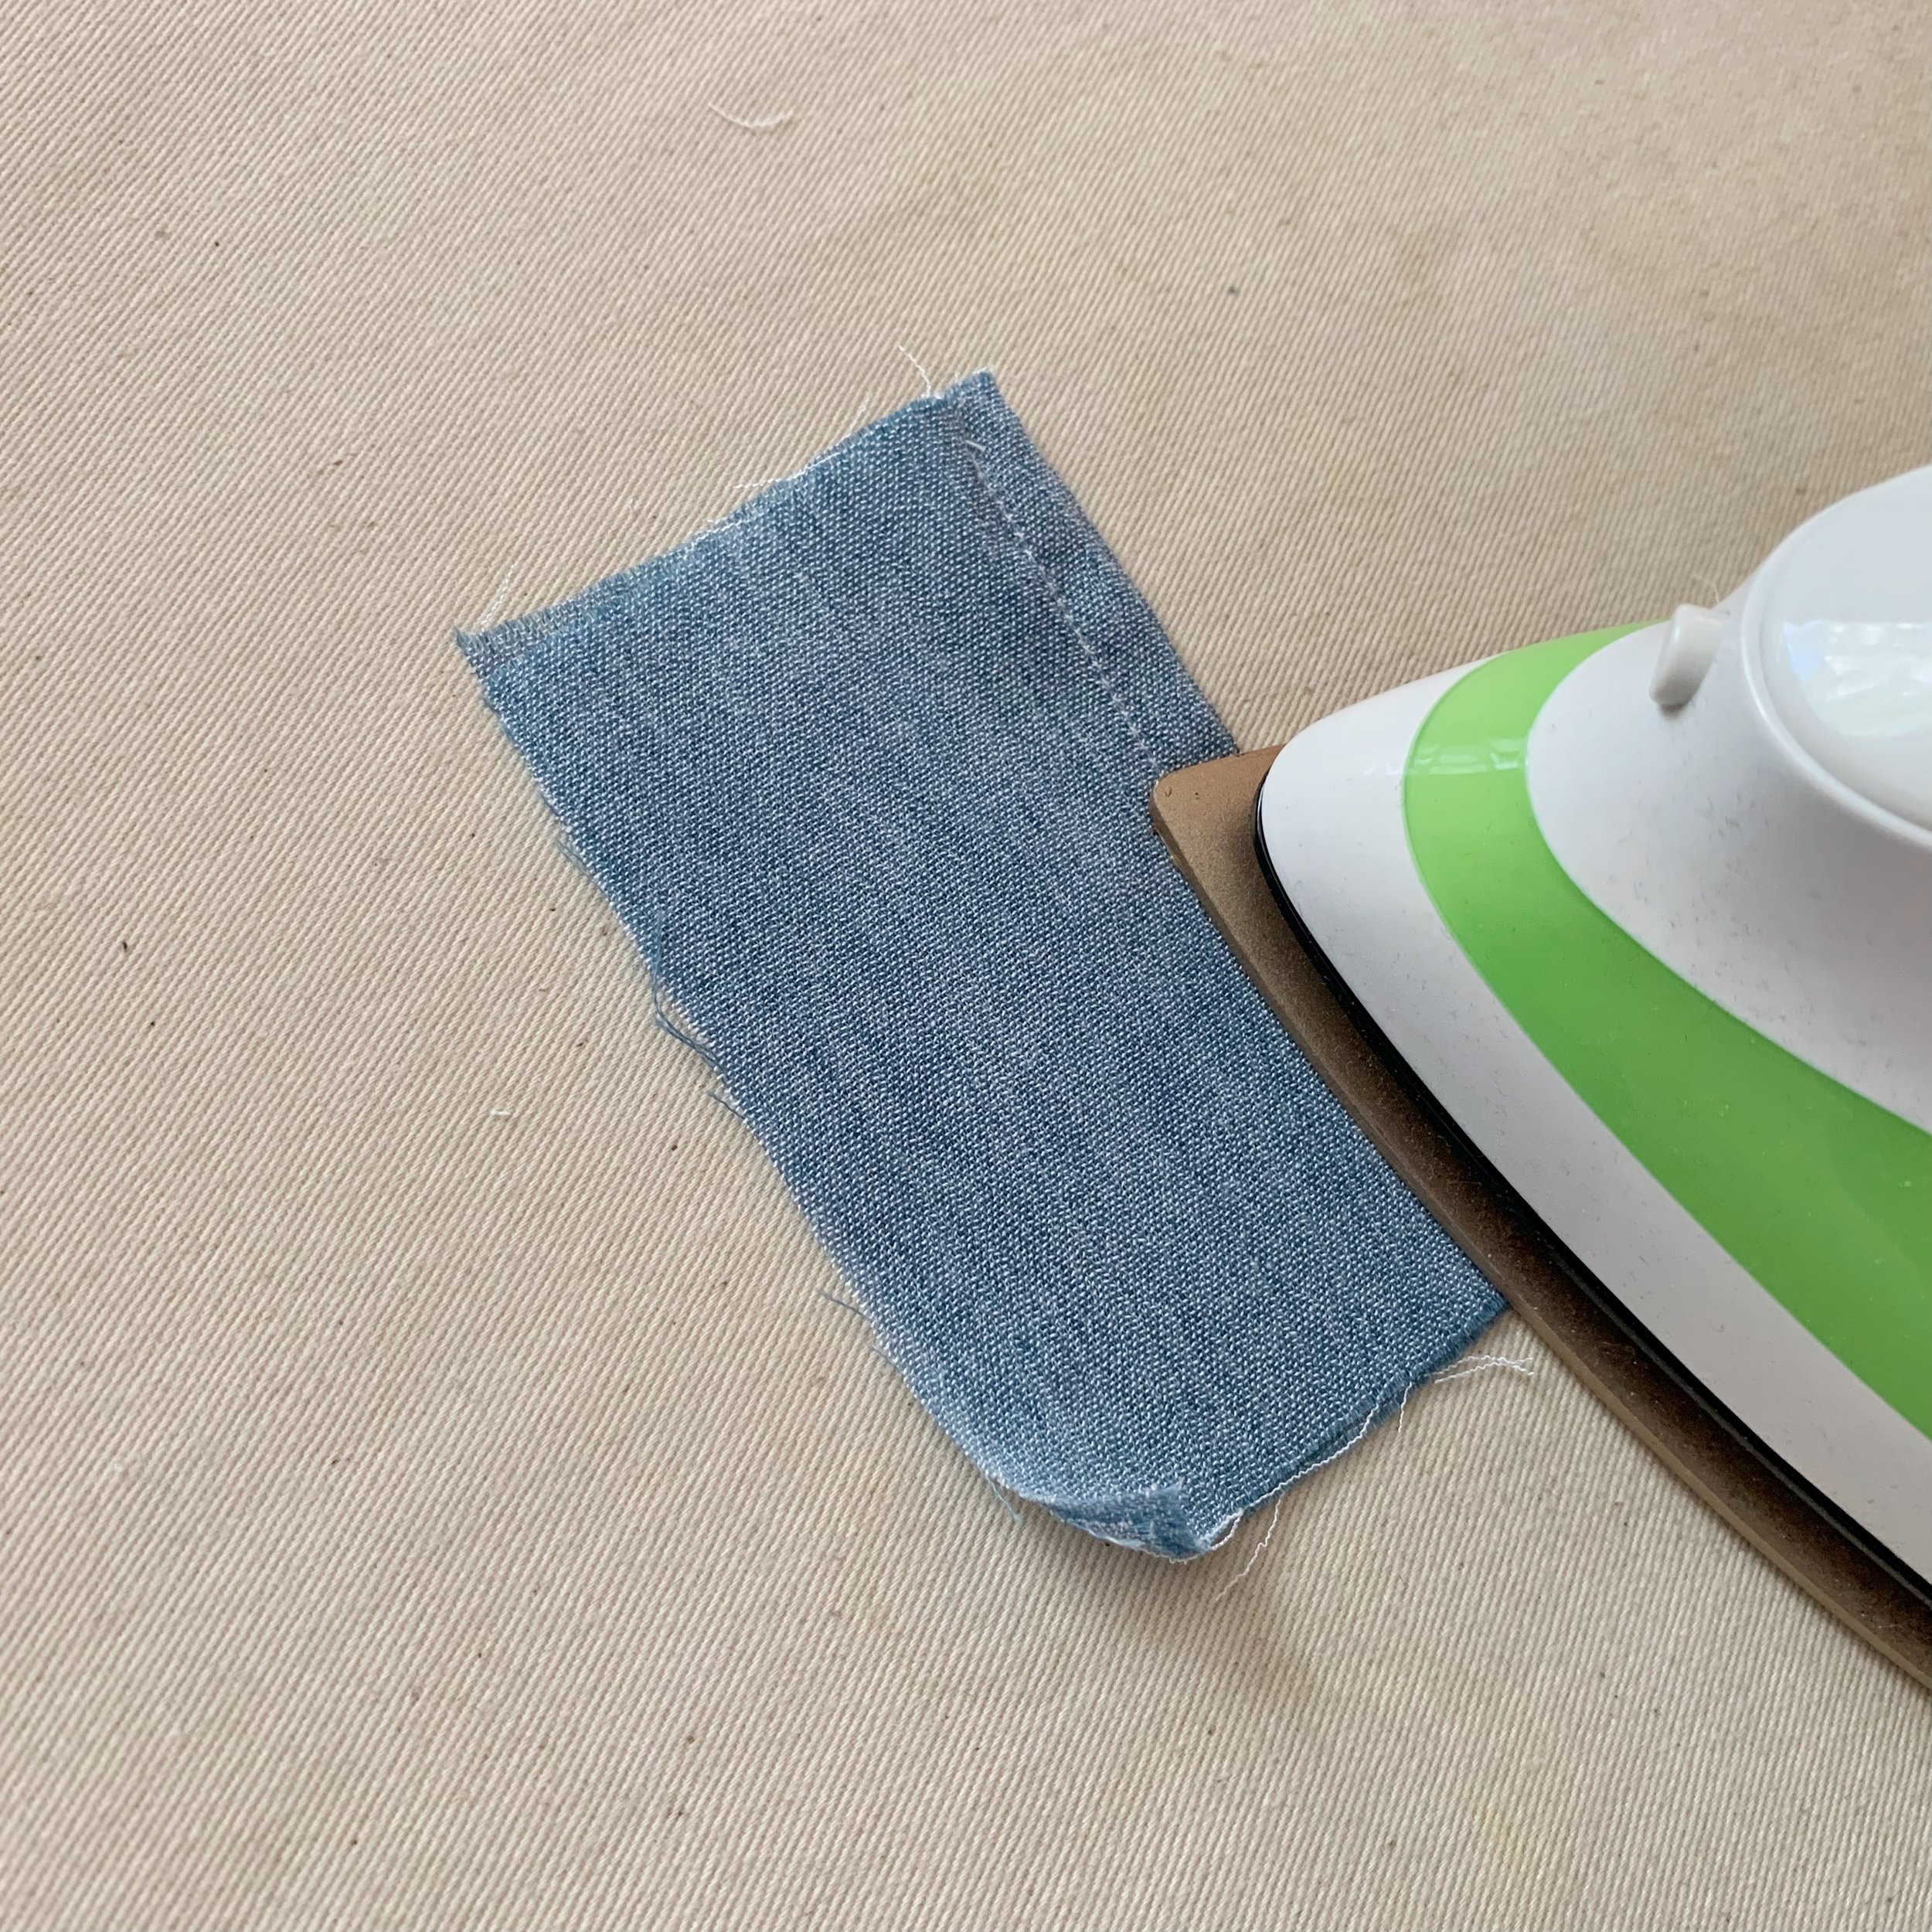
2. Press the seam to lock in the stitches and trim the seam allowance to ⅛”.
ID: A swatch of sky blue, lightweight linen on a cream coloured ironing board. A white and lime green iron is pressing the seam.
ID: A swatch of sky blue, lightweight linen sewn with a small seam allowance is being trimmed by silver shears.
3. Press the seam to the side and then fold the fabric RIGHT sides together and press again. Before stitching the next part, trim any loose threads to keep the raw edge nice and tidy.
ID: A swatch of sky blue, lightweight linen on a cream coloured ironing board. A white and lime green iron is pressing the seam to the side.
ID: A white hand holding the sky blue, lightweight linen showing the raw edges enclosed in the fold.
ID: A swatch of sky blue, lightweight linen on a cream coloured ironing board. A white and lime green iron is pressing the fold.
4. With the raw edges now enclosed and RST, sew the final seam at ¼” seam allowance.
ID: A swatch of sky blue, lightweight linen sewn with a french seam in white thread held by a white sewing machine.
ID: A swatch of sky blue, lightweight linen sewn with a french seam in white thread showing the raw edges enclosed.
5. Press to lock in the stitches and then press to one side.
ID: A swatch of sky blue, lightweight linen on a cream coloured ironing board. A white and lime green iron is pressing the seam.
ID: A close up of a swatch of sky blue, lightweight linen sewn with a french seam in white thread shown from the wrong side.
ID: A close up of a swatch of sky blue, lightweight linen sewn with a french seam in white thread shown from the right side.
When held up to the light, the french seam on this lightweight, loose weave linen blend can be seen from the outside of the garment. Against the skin it isn’t noticeable but on a sheer top or dress these visible but clean finishes can give a really cool geometric effect depending on where the seams are in the garment. What fun!
ID: A close up of a swatch of sky blue, lightweight linen sewn with a french seam in white thread shown from the right side and held up to the light. The french seam finish can be seen from the right side.


