Thursday Tip with Hali - Attaching labels
Thursday Tip // Attaching labels
![[ID: our 5 exclusive label designs on a white background. From left to right: Sewing machine, Size: Irrelevant, Full of Good Ideas, Caution Moving Parts, Great Guts. End]](https://images.squarespace-cdn.com/content/v1/5b2eb3d150a54f8f4f397cc0/1624474851784-0O1W862BFYY41V7JZZK8/DSCN1225.JPG)
[ID: our 5 exclusive label designs on a white background. From left to right: Sewing machine, Size: Irrelevant, Full of Good Ideas, Caution Moving Parts, Great Guts. End]
This week we launched our first pack of WS exclusive labels and we are so excited to see them in your makes! It seemed fitting to do a tip about a few different ways to attach our labels and some options for modifying them to suit your garment.
Each label comes with a generous seam allowance so you can attach them almost anywhere but remember to enclose or finish the raw edges or they will fray over time. In this first example I had already finished this linen tank (made with our Aero Finish Linen in Muted Emerald) so I just unpicked a small section of the binding, slipped the label under then stitched the binding back down again. If you are inserting the label while finishing the garment, you could pin it in while you pin the binding on and sew it all in one go. I chose to shorten the label slightly so I trimmed off just shy of ¼” at the top. Trimming ¼” off makes the label about 1” square when folded.


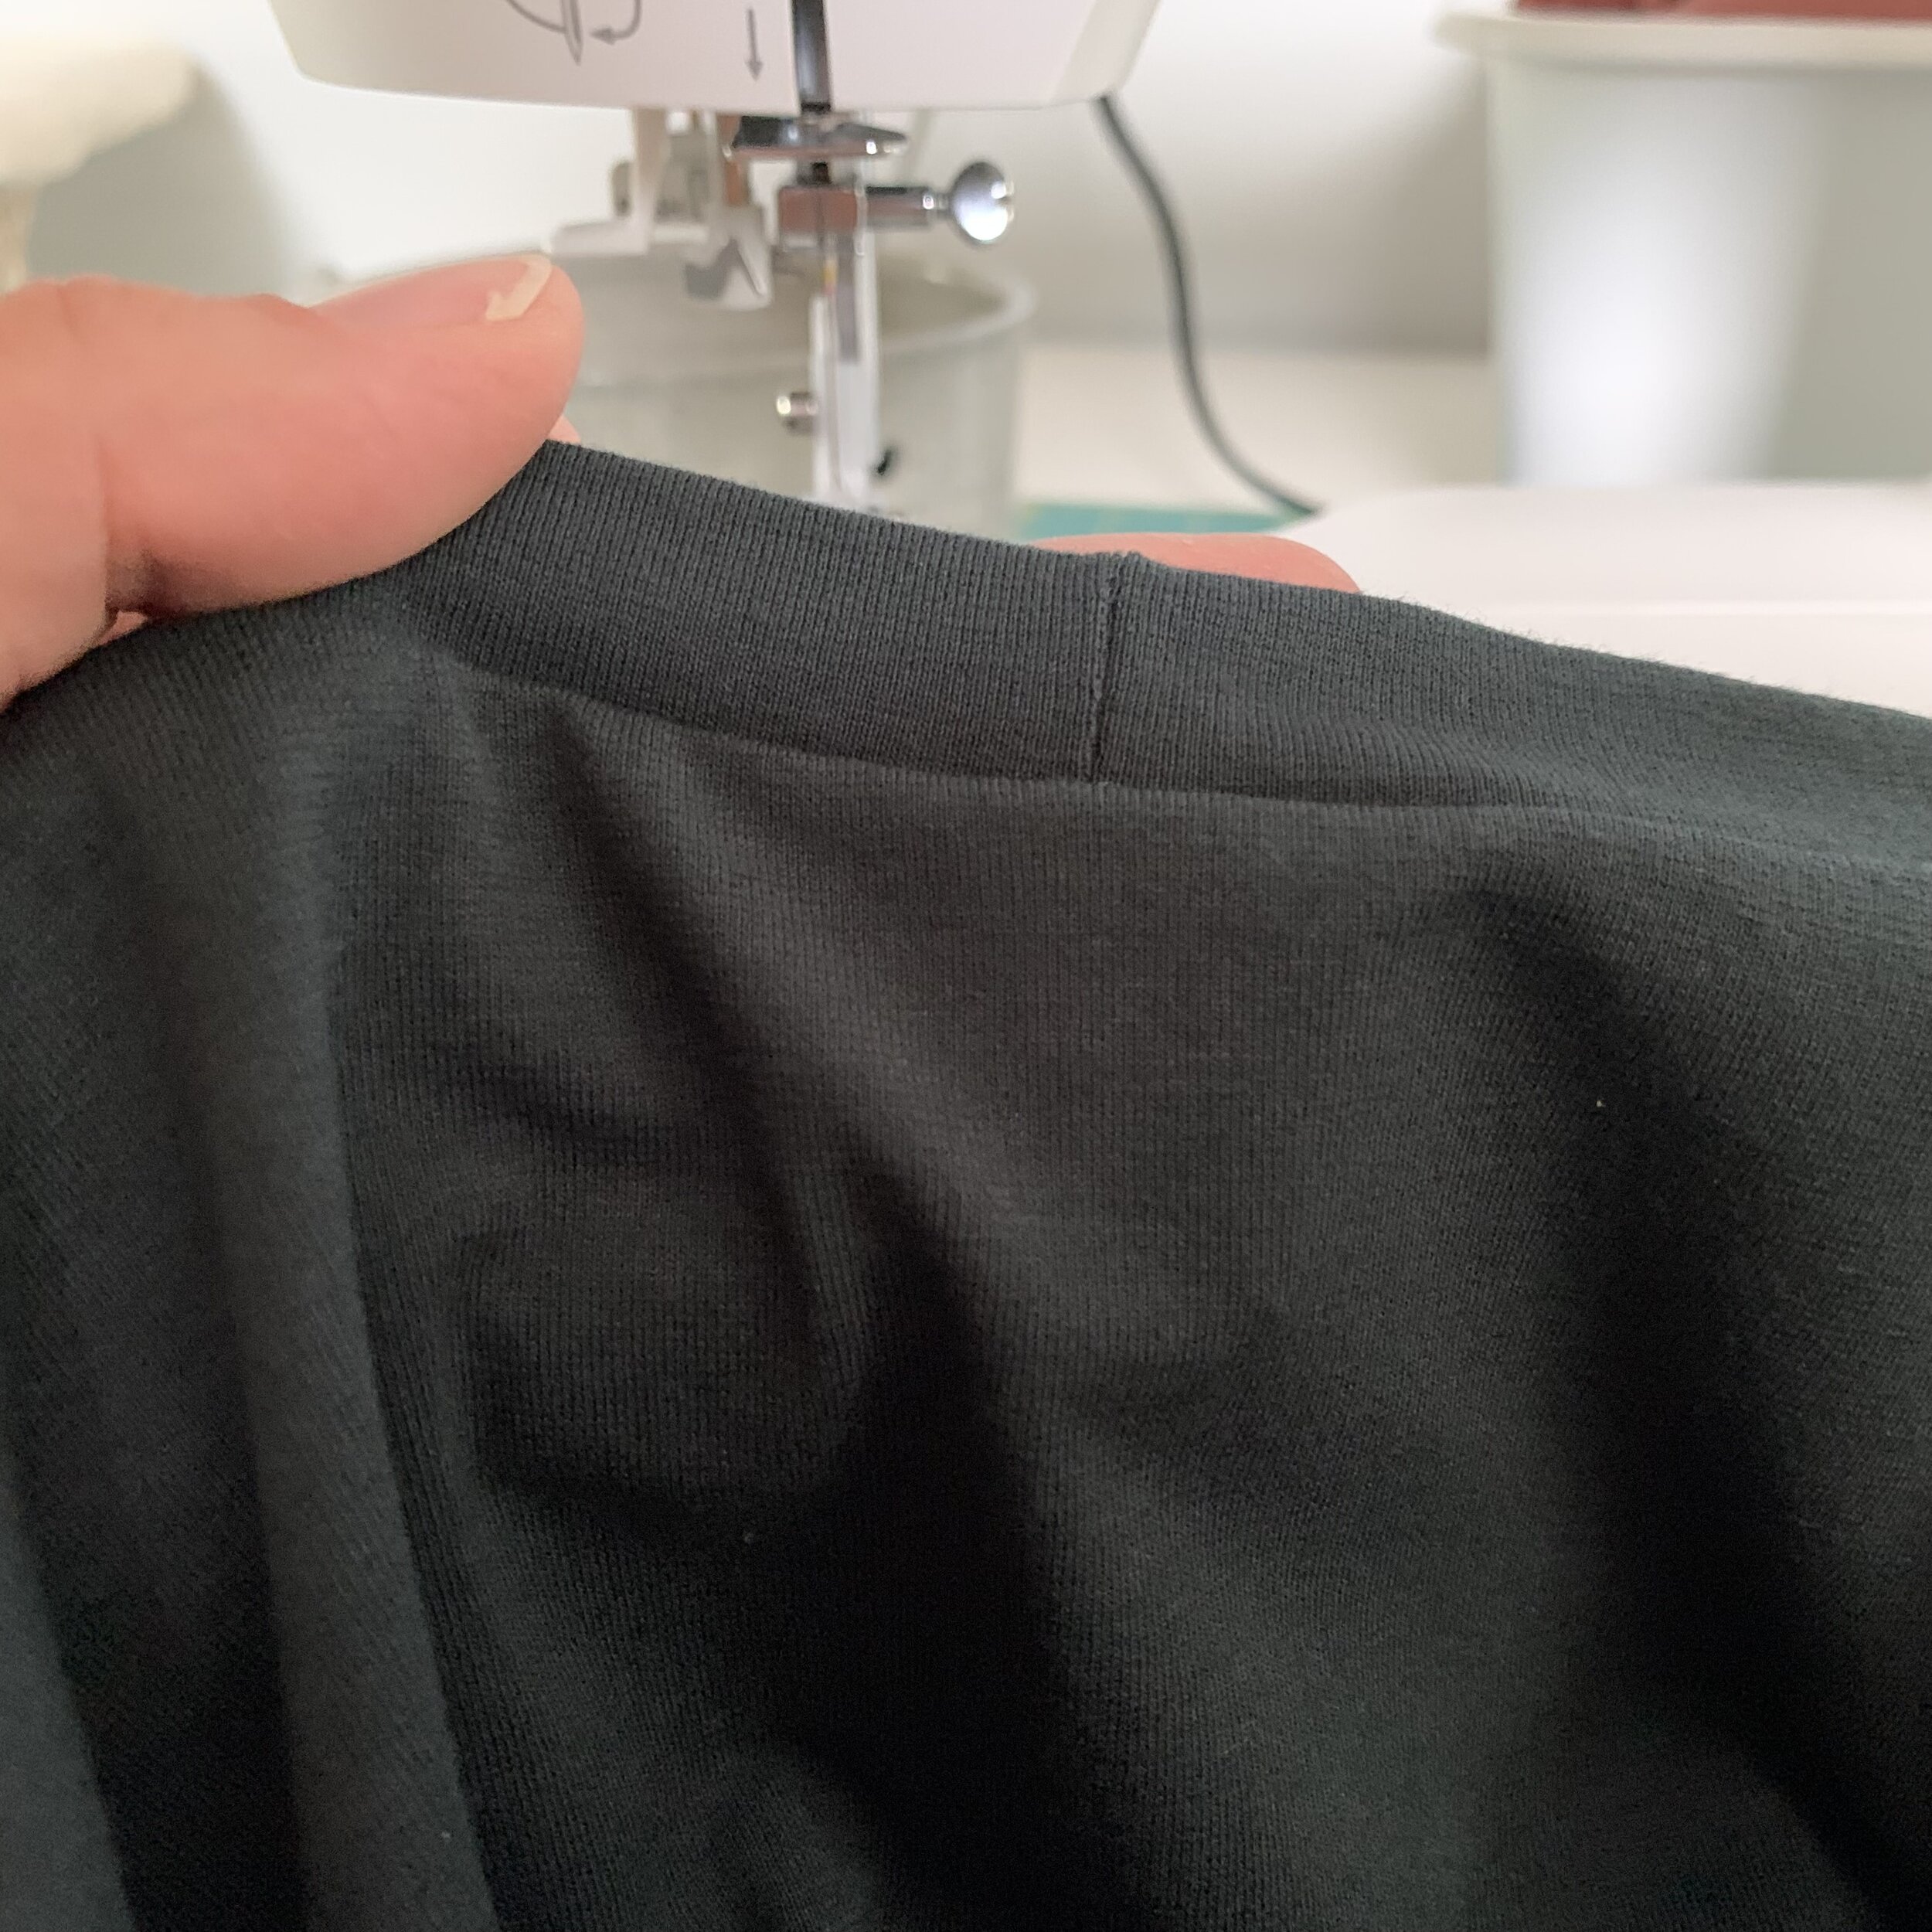
If you are attaching a label to the collar of a knit garment you can do it in several different ways. You could put the label under the seam allowance of the collar and just stitch it down to enclose the top edge of the label. On the right side of your garment you will see a small line of stitching below the seam line. A second option if you already plan to topstitch anyway, you could topstitch around the collar and over the label to enclose it.


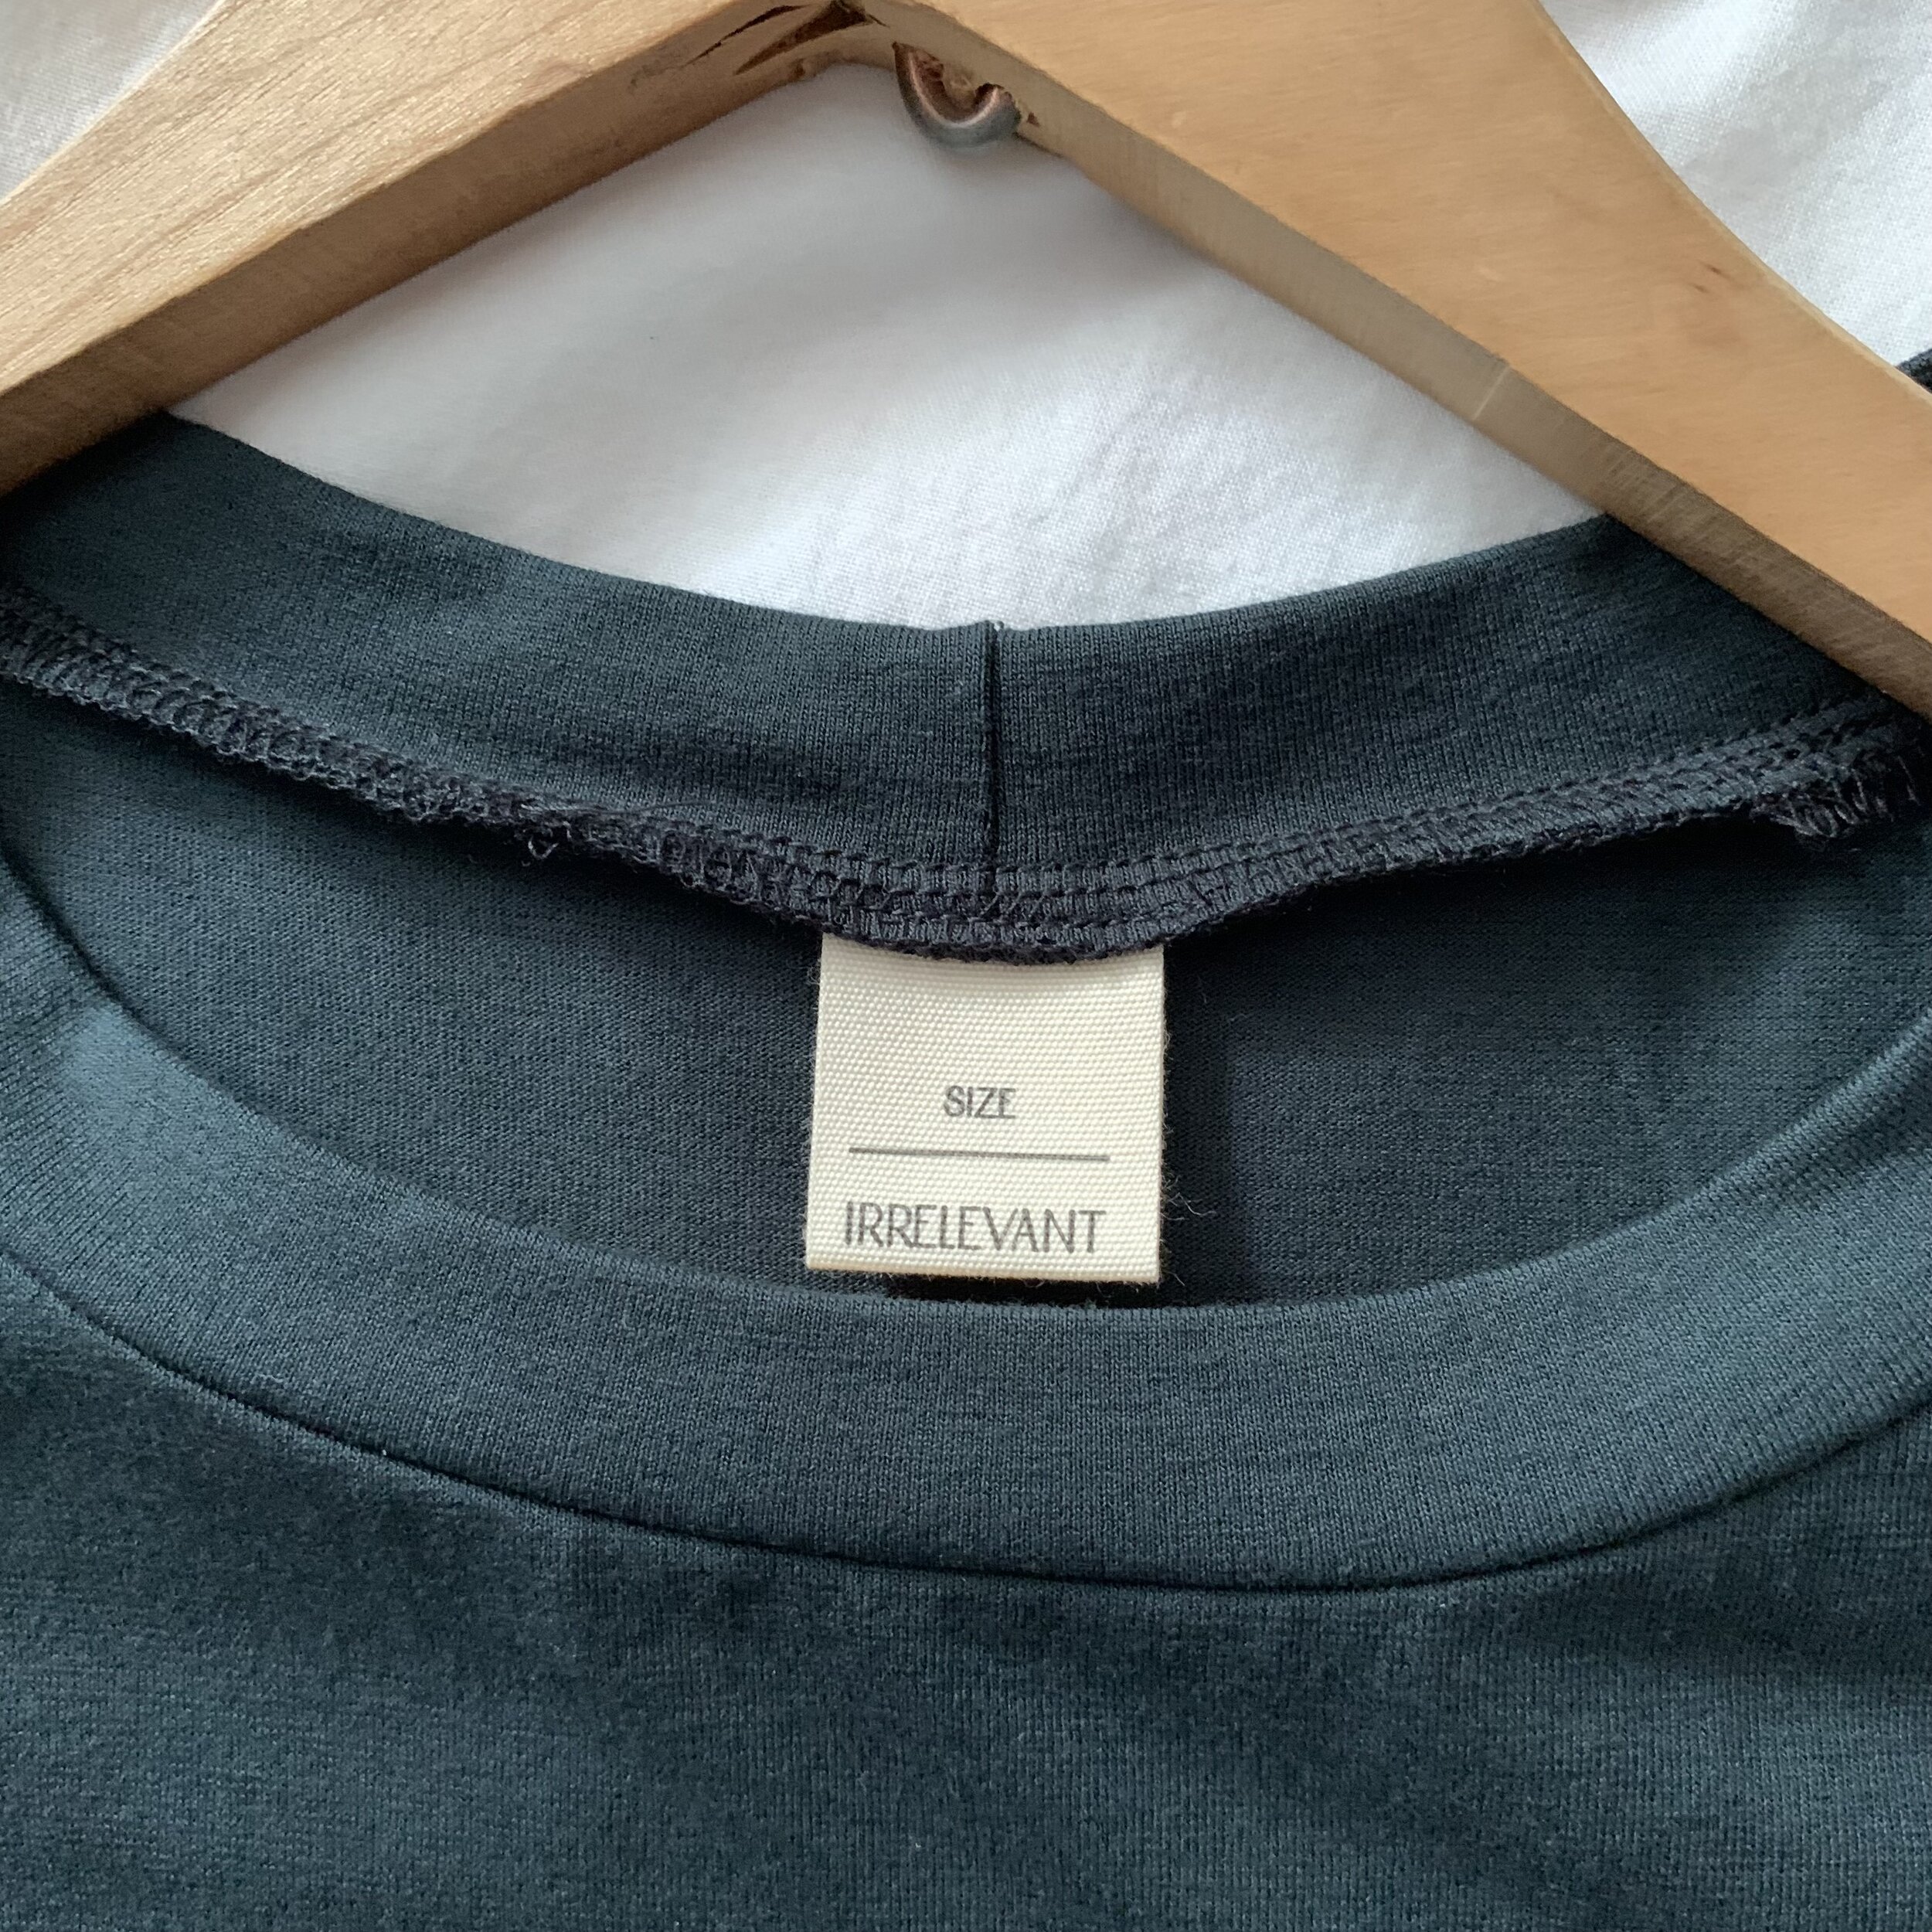
Another option is to sew the label to the seam allowance only so there is no line of stitching visible on the right side of the garment. (This T-shirt is made with our Ecovero™ Jersey in Liquorice).

One of my favourite ways to attach these labels is to turn down the top edges of the label about ¼” and press so the label can be sewn onto a hem or an inside lining. I show the steps to attach a label to the inside lining of this Heather Blazer by Friday Pattern Company. It was slightly trickier to catch only the lining but I quite like the look of it.


Shown below is also a label attached to the cuff of a pair of sweatpants. This could also be done on a sleeve cuff or the hem of a skirt, brim of a hat etc.


We chose 100% cotton labels because of their lower environmental impact but this means they can also take a hot press really well. We think the options to make them unique to your garment really are endless.
If you haven’t had a chance to grab some yet, click here. Then tag us in your makes and use the hashtag #wslabels so others can see the creative ways you use our labels too. We can’t wait to see what you come up with!