Thursday Tip with Hali - Making fabric ribbon
Thursday Tip // Making fabric ribbon
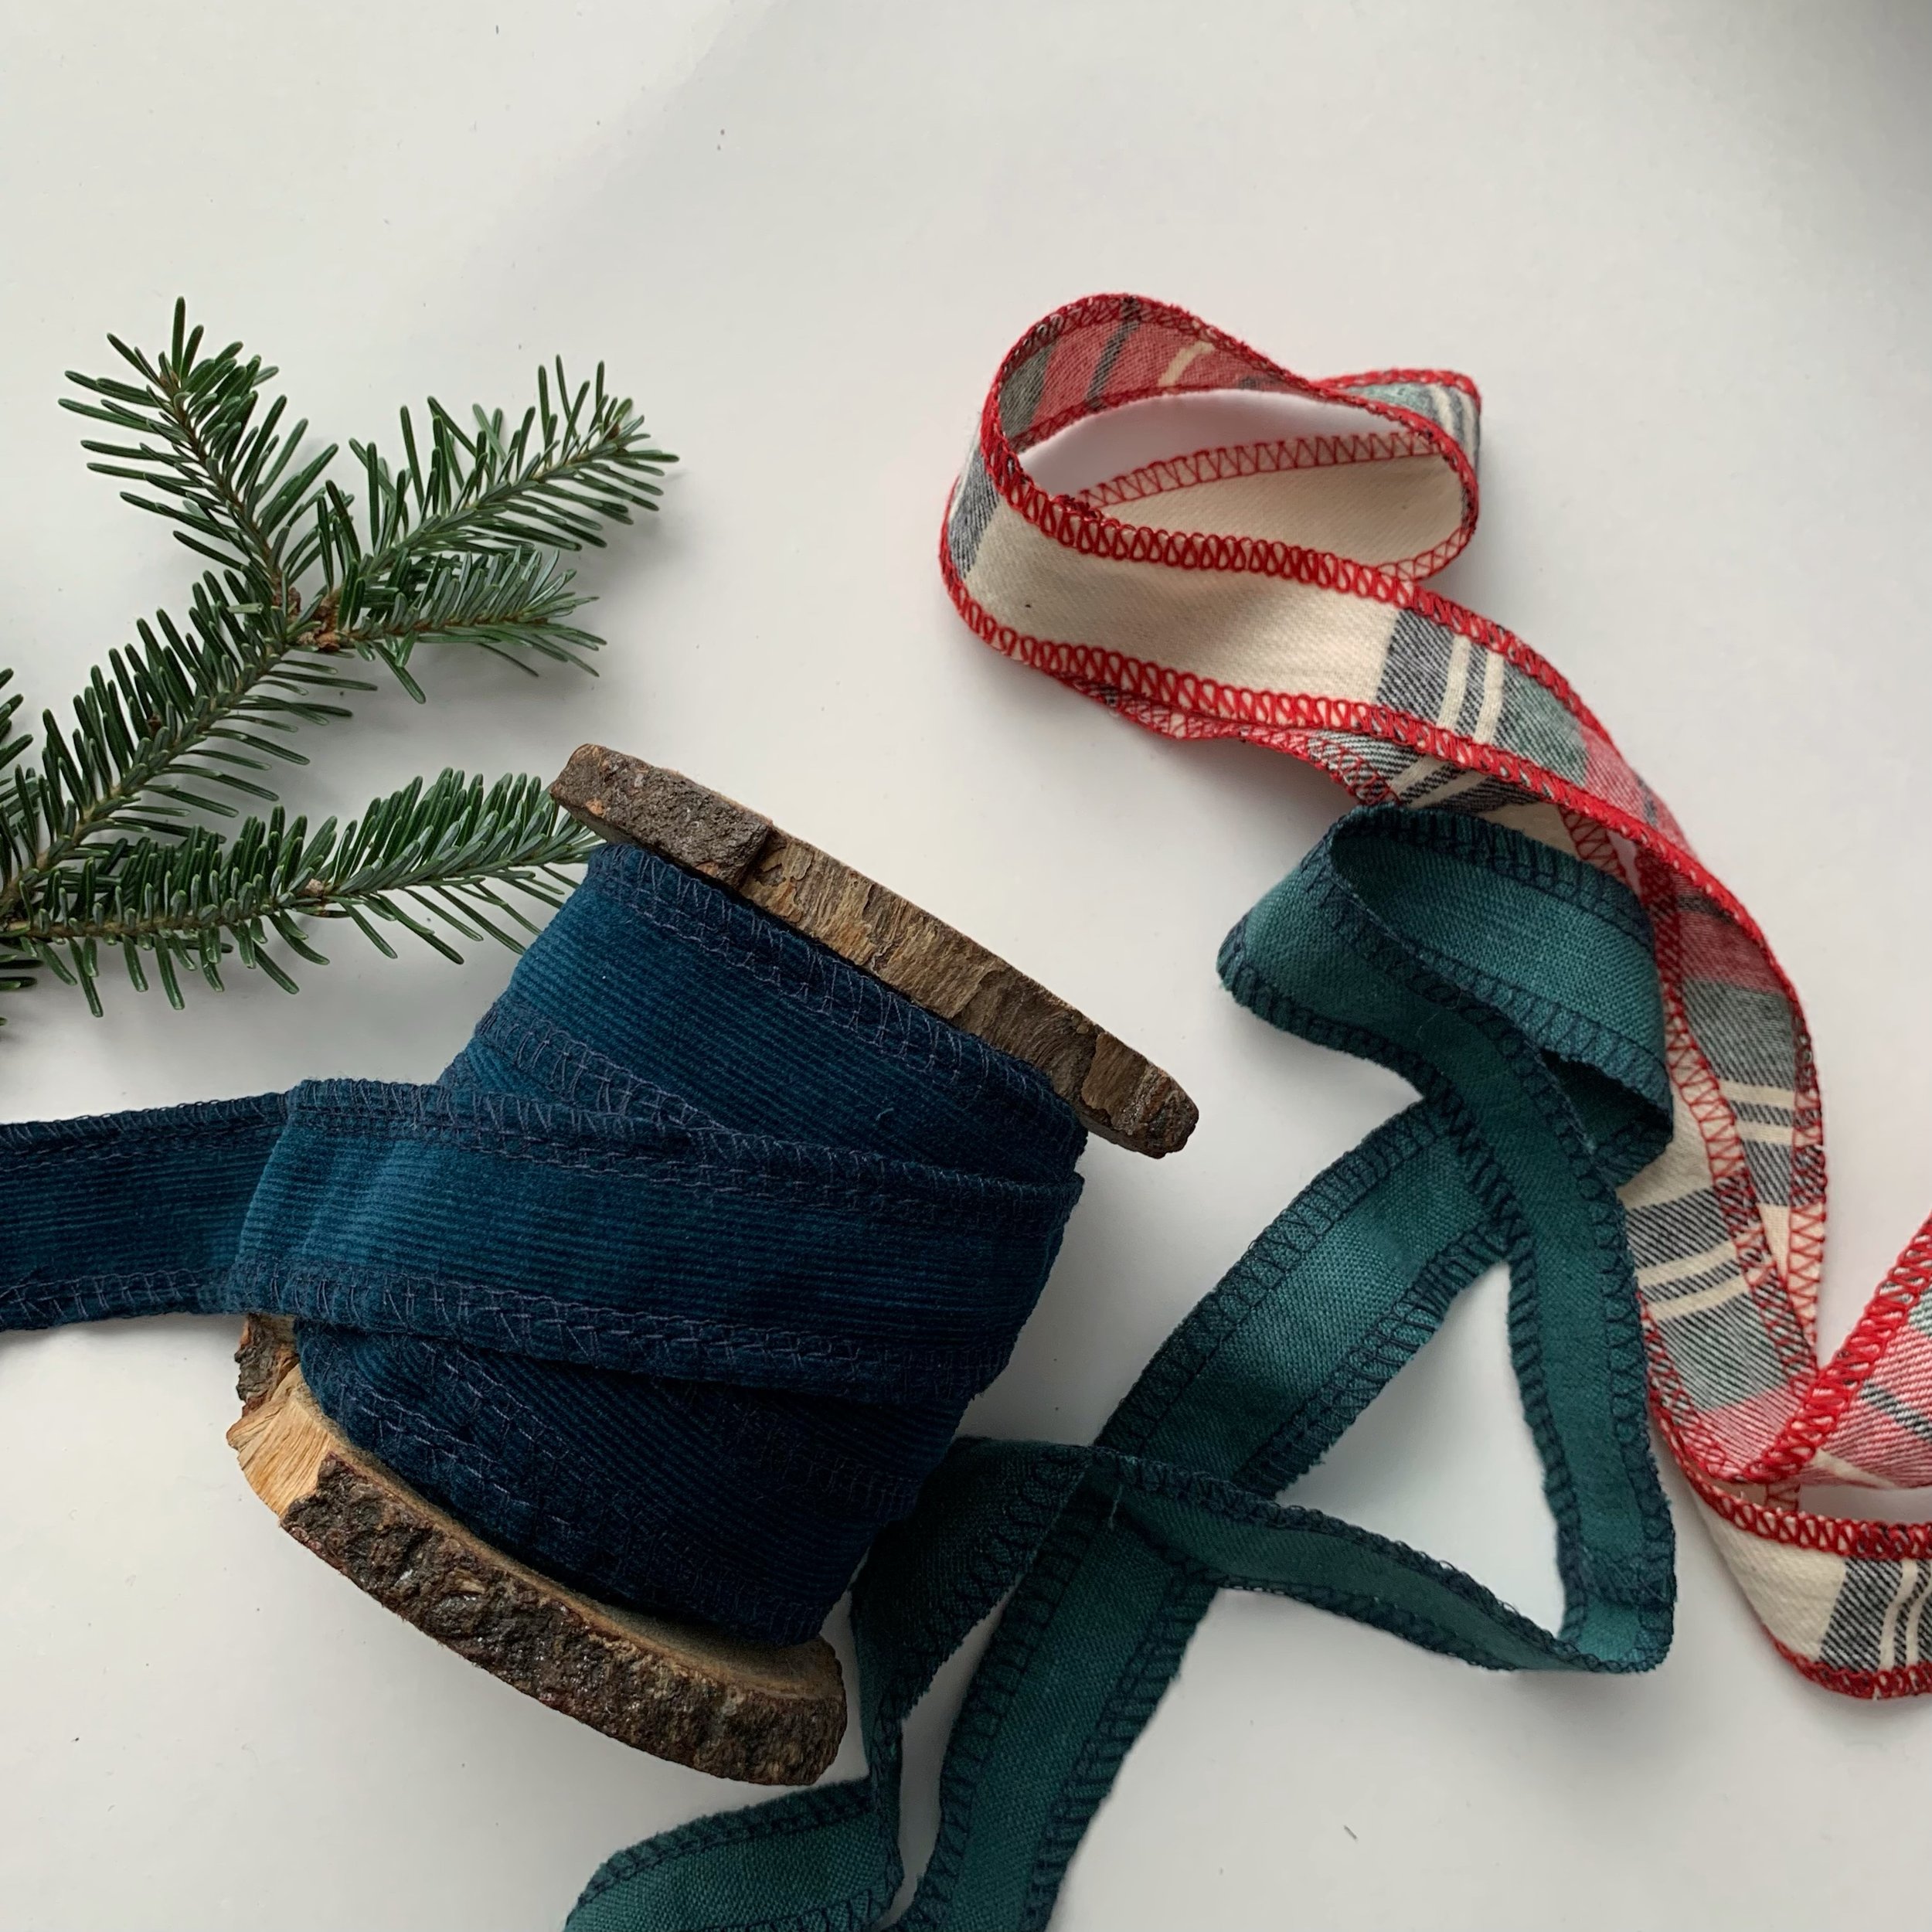
Fabric ribbon is such a hit! A nice palette cleanser and super satisfying scrap busting project too. You can use a large scrap or piece together small scraps as well. A multi-coloured scrappy ribbon would be so neat!
Note: Fabric ribbon can be made on a regular sewing machine as well; it will just take a little bit more time and patience. See below for more instructions.
We love using our scraps in recyclable ways and this ribbon could easily be used for gift wrapping, tree garland, other decor, gift bag handles, gift tags or added to a garrment. Oooo that would be fun.
How to make fabric ribbon (using a serger/overlocker):
Cut a rectangle approximately 8”x40”. This measurement is arbitrary. You can really use any size of scrap you like as long as it ends up mostly rectangular and will divide evenly into the dimensions of ribbon you want. The longer the rectangle the longer the distance between seams and the more ribbon you will have. If you don’t mind more seams in your length of ribbon you could piece together several smaller scraps as well.
Fold the rectangle with right sides together so the shortest edges meet. Then offset the short edges by the final width of ribbon you would like. In this example I offset the edges by 1” for a final width of 1”.


Sew this seam using a serger with a ⅜” seam allowance Alternatively you could do a french seam here to enclose the raw edges completely but it will be more bulky.


Now line up the 1” overhang and start serging the outer most edge.
As you come back around to the starting point (the original seam) continue serging with a 1” seam allowance (or whatever width of ribbon you choose). I found that stabilizing the strip by gently pulling it down with my right hand was helpful to guide the fabric and keep it at about 1”. If it ends up wobbly or different widths along the length of the ribbon you can sort of fix this in the next steps so no worries!


After serging the whole length of the strip, prepare to serge the other side.

Now is when you can fix the width by using the completed side as a guide to gauge the width. If you have a wider section just allow the knife to cut off the wider part as you serge. It might take some practice to get in a good rhythm but you can do it!
After finishing both edges, weave in the serger tails and wrap your homemade ribbon around an old thread spool or a piece of cardboard or something to keep it tidy.

Now use and reuse your ribbon for years to come!
Make fabric ribbon with a regular sewing machine:
If you don’t own a serger, no problem! You could use the same method to sew the rectangle together with a ¼” or ⅜” seam allowance. Then press the seam open or to one side. The raw edges may fray slightly so you could use pinking shears to finish this seam or do a french or flat fell seam to enclose the raw edges.
Next, cut your 1” (or whatever size) ribbon in the round first and once you have a long strip, sew each side using your regular sewing machine and an overlocking stitch or something similar to finish the edges. This Thursday Tip for bias tape making could also be used. This tutorial uses a square scrap and includes instructions for drawing cutting lines which may make things easier for you. Just skip the pressing steps at the end and finish both raw edges to make a ribbon.
Alternatively, for a clean finished edge, you could follow this tutorial, essentially making a drawstring/strap but then edgestitch both long edges for an even looking ribbon. It will use up quite a bit more fabric though eg. for a 1” ribbon you would need a 4” wide strip of fabric.
We can’t wait to see all the reusable and upcycled gift wrapping this year. I (Hali) am using recyclable brown paper grocery bags for my wrapping paper this year and this ribbon will be such a great addition with an undeniable pop of colour!
How are you wrapping this year??